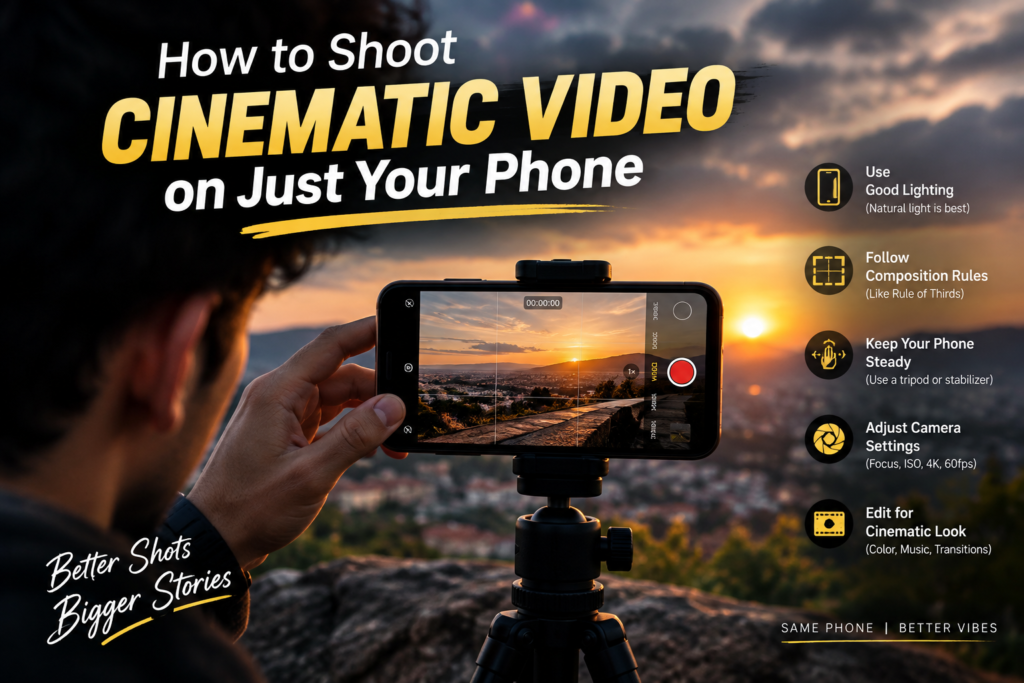
How to Shoot Cinematic Video on Just Your Phone
Cinematic footage isn’t really about the camera — it’s about light, composition, exposure, and deliberate movement. Most phones can already capture broadcast-quality 4K. The problem is the default camera app, which is built for snapshots and casual clips, not for anything that looks like a movie.
Here’s what actually separates “home video” from “cinematic,” and how to get there with a phone you already own.
Default vs. Cinematic Settings, At a Glance
| Setting | Default Behavior | What to Use Instead | Why |
|---|---|---|---|
| Frame rate | 30fps or 60fps, auto | 24fps, fixed | Matches the look of traditional film |
| Shutter speed | Auto (1/100s–1/1000s) | Fixed at 1/48s or 1/50s | Keeps motion blur natural |
| ISO | Auto (spikes in low light) | Manual, lowest base (50–100) | Kills grainy noise |
| White balance | Auto, drifts mid-shot | Manually locked (e.g., 5600K) | Stops color shifting between takes |
| Focus | Continuous autofocus | Manual or locked | Prevents the lens “hunting” |
| Color profile | Standard Rec.709 | Log/flat profile | Preserves more detail for editing later |
1. Take Manual Control of the Camera
The single biggest thing standing between your footage and something cinematic is your phone making decisions for you. Auto-exposure shifts every time someone moves through the frame; auto white balance recalibrates every time a warm lamp enters the shot. None of that reads as intentional — it reads as a phone trying to compensate.
The 180-degree shutter rule. This is the one rule worth memorizing: your shutter speed should be roughly double your frame rate.
- Shooting at 24fps → set shutter speed to 1/48s (or 1/50s, since most phones round to that)
- Shooting at 30fps → 1/60s
- Shooting slow-motion at 60fps → 1/120s
Go faster than that and you lose motion blur entirely, giving you that choppy, strobing look you see in security footage. Go slower, and fast movement turns into a smear.
Dealing with bright daylight. Here’s the catch: keeping your shutter at 1/48s in direct sun will blow out your exposure completely, even at the lowest ISO. The fix filmmakers use is a Neutral Density (ND) filter — essentially sunglasses for your lens. A clip-on or cage-mounted variable ND filter lets you cut down the light hitting the sensor without touching your shutter speed or ISO.
Which app to use. The stock camera app won’t give you any of this control, so you’ll need a dedicated one:
- Blackmagic Camera (iOS/Android, free) — Apple Log support, zebra stripes, false color, clean HDMI output
- FilMiC Pro (iOS/Android, subscription) — deeper production tools, anamorphic de-squeeze, remote monitoring
- Beastcam (iOS, one-time purchase) — good if you’re building out a rig, with granular bitrate control
2. Lighting for a Small Sensor
Phone sensors are tiny compared to actual cinema cameras, which means they struggle to capture both shadow detail and bright highlights in the same shot. Point a phone at someone in direct sun and you’ll usually get a blown-out face and a crushed, dark background — there’s just not enough dynamic range to hold both.
The fix is to soften and control your light rather than fight it:
- Skip midday sun. Shoot during golden hour (right after sunrise or before sunset) or blue hour, when light is naturally soft and directional.
- Diffuse harsh light. If you’re stuck shooting in direct sun, put a diffusion panel between the light source and your subject.
- Use negative fill. A black foam board on the shadow side of someone’s face absorbs stray light and gives the shot more shape and contrast.
The basic three-point setup, if you want to go further:
- Key light — your main light, positioned about 45° off-axis and slightly above eye level, softened with a diffuser
- Fill light — opposite the key, dimmer, to soften shadows without flattening the image
- Rim/hair light — behind the subject, creating a thin edge of light that separates them from the background
3. Audio Matters More Than You Think
People forgive mediocre video far more easily than they forgive bad audio. Built-in phone mics pick up everything — room echo, wind, handling noise — because they’re not directional.
Get a mic off the phone. For dialogue or interviews, a wireless lavalier (DJI Mic 2 or Rode Wireless PRO are common picks) clipped 6–8 inches below the chin, angled down toward the chest, works well — tape the wire under clothing so it doesn’t rustle. For narrative scenes, a shotgun mic on a boom pole, angled toward the subject’s mouth and kept just out of frame, is the standard approach.
Treat the room, not just the mic. Bare walls and hardwood floors create echo no microphone placement can fix. Rugs, blankets, and furniture placed out of frame absorb reflections and make a huge difference before you even hit record.
Watch your levels. Set manual gain so peaks sit around -12dB to -6dB — loud enough to be clean, with enough headroom that it won’t clip.
4. Keep the Camera Steady
Phones are light, which means every small hand tremor shows up in the footage as a jitter — one of the fastest ways to make something look amateur. Heavier cinema cameras don’t have this problem because their mass naturally smooths out motion; with a phone, you have to fake that stability.
Your options, roughly in order of cost:
- A 3-axis gimbal for genuinely smooth, motorized tracking shots
- A weighted camera cage that adds mass and mimics the inertia of a “real” camera
- The “ninja walk” — bend your knees slightly, roll heel-to-toe, and keep your elbows tucked against your ribs so your upper body stays isolated from your steps. Combined with a cage and a neck strap pulled taut (three points of contact), it’s a surprisingly effective free stabilization method.
A few movements worth learning:
- Push-in — walk slowly toward your subject at a steady height, used to build emotional intensity or emphasize a realization
- Orbit shot — circle your subject while keeping them centered, creating depth by separating them from the background
- Low-angle tracking — mount the phone near ground level and move parallel to someone walking, which reads as powerful or dramatic
- Reveal — start behind an object (a wall, a doorframe) and slide sideways to introduce a new space or character
5. Composition and Lens Choice
Phones default to a wide-angle lens (usually around 24mm equivalent), which distorts faces up close and flattens the sense of depth in the background.
If your phone has a telephoto lens, use it for anything close to a face — it compresses the background and gives a much more flattering, film-like look than the main wide lens. To get a blurred, cinematic background on a small sensor:
- Put real distance between your subject and the background — 10 to 15 feet if you can manage it
- Use the physical telephoto lens rather than digital zoom
- Shoot through foreground elements — past a doorway, through some foliage, past the edge of furniture — to add a sense of layered depth to the frame
6. Editing and Color Grading
Recording the footage is only half the job. If your phone supports Log or a flat color profile (Apple Log on newer iPhones, or a custom flat profile through Blackmagic Camera or FilMiC Pro), shoot in it — it keeps more highlight and shadow detail intact so you have room to grade later, even though the raw footage looks washed out straight out of camera.
A reasonable grading order in DaVinci Resolve or Premiere:
- Normalize the Log footage into your working color space (usually Rec.709)
- Balance exposure — set your black point just above 0 and highlights below clipping on the waveform monitor
- Correct skin tones using the vectorscope, making sure they land on the skin-tone line
- Apply a creative grade — teal-and-orange, split-toning, a vignette, whatever fits the mood
- Add a light film grain (1.5–3%) to soften the digital sharpness phones tend to produce
A Quick On-Set Checklist
Before you start: Clean your lenses (smudges cause light streaks), put your phone in airplane mode so nothing interrupts a take, and mount it securely in a cage or gimbal.
Sound and space: Listen for background noise — AC units, fridges, traffic — and turn off what you can. Add rugs or blankets to cut echo. Mic up your subject and check that levels are sitting between -12dB and -6dB.
Lighting and framing: Set your key light, add diffusion or bounce as needed, and attach an ND filter if you’re shooting outside. Frame your shot and check for distracting background clutter.
Lock your settings: 4K, 24fps, shutter at 1/48s or 1/50s, ISO at native base, focus locked on the eye nearest camera, white balance locked to match your lighting.
Rolling: Call audio, then camera, give yourself a few seconds of pre-roll before “action,” and a few seconds of tail room after “cut” so you have clean edit handles.
None of this requires expensive gear — mostly just turning off the automatic settings that are working against you, and treating light, sound, and movement with the same intention a film crew would.
Pingback: The 5 Mind-Blowing Sci-Fi Twists That Actually Rewire How You See the Whole Movie